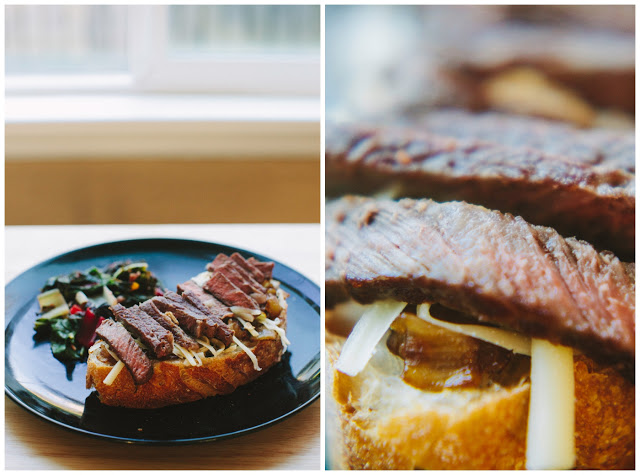
Here's a cooking tip for everyone reading, if you want to make a sandwich fancier, make it an open face sandwich. It shows off all the content in the sandwich in an appetizing way. Want to make that PB&J sandwich more interesting? Just make it an open face sandwich. Boom! All your dinner guest will be impressed with your culinary skills. Here's another cooking tip, don't serve PB&J sandwiches at a dinner party, unless it's some weird dinner party for 8 year-olds.
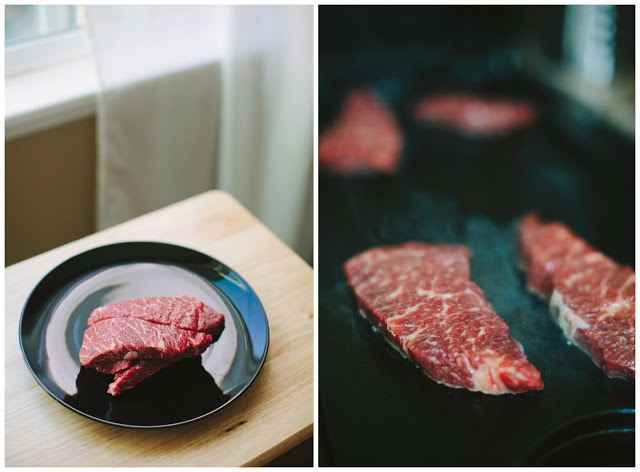
Everyone loves steak, even vegetarians, they just won't admit it. Steak is amazing and an important part of a balanced diet, but sometimes just eating a hunk of meat doesn't cut it. Not even with a steak knife. And most of the time when I order a steak sandwich from a restaurant, it's either super greasy or very dry, occasionally I'll find a place that's somewhere between the two, but those places are pretty rare. That's why I wanted to make my own steak sandwich and use the most marbled pieces of meat I could find.
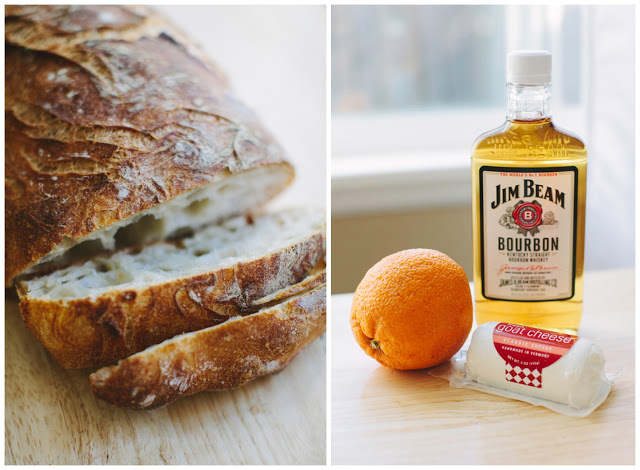
Caramelized Bourbon Onions
- 1 large yellow onion chopped
- 1 teaspoon minced garlic
- 2 tablespoons butter
- 1 teaspoon sugar
- 1 shot of bourbon
- Get a skillet, melt the butter, and add the garlic. After about 30 seconds add the onions, and sugar. Cook over medium high heat until the onions are caramelized.
- Add the shot of bourbon to deglaze the pan and cook until the liquid is gone.
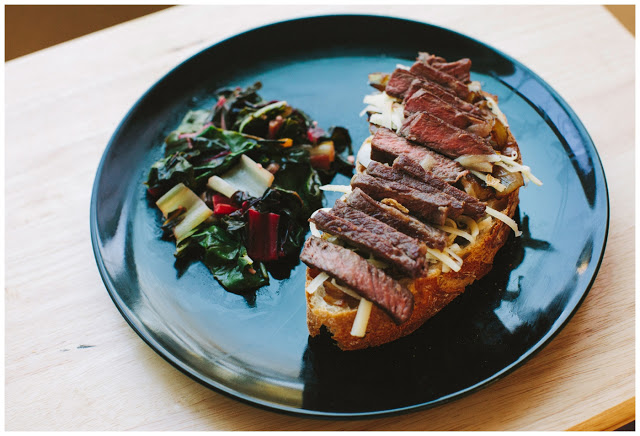
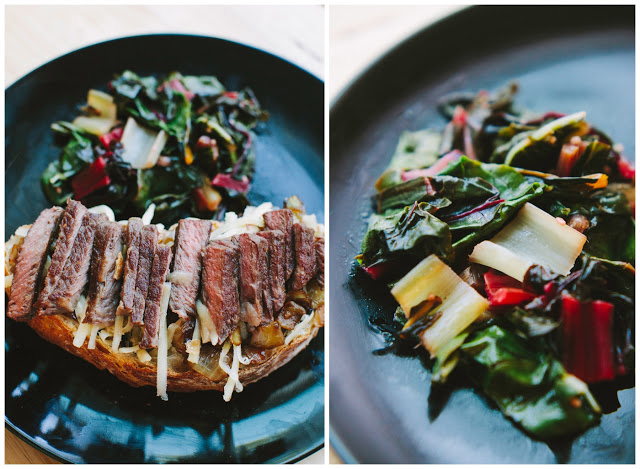
Open Face Steak Sandwich
- 1 lbs Denver steaks
- 1 tablespoon olive oil
- a dash of salt and pepper
- 1/2 cup shredded white cheddar
- 1 loaf of ciabatta bread thickly sliced
- Preheat your oven to 500 and place a cast iron skillet in the oven (I used my cast iron griddle and it worked just as well).
- While the oven is heating up. Place the steaks in a bowl and toss them with the olive oil, salt and pepper.
- Once the oven reaches temperature take the skillet out of the oven and place it on the stove top over medium high heat.
- Place the steaks on the skillet for 30 seconds. Flip and cook the other side for 30 seconds as well. Flip the steaks again and place the skillet back into the oven for 2 minutes. Flip the steaks one last time and let cook for another minute. Take the steaks out of the oven and let them sit on a plate for about 3 minutes before cutting them into strips.
- Take a slice of ciabatta and spoon enough of the bourbon onions on it to barely cover the bread. Sprinkle the cheese over the onions, that way it gets all melty. Then slice the steaks into strips and place on top. Enjoy!