Tuna canning can seem intimidating or even unappealing. When most people think of canned tuna they think of the mushy seafood paste that's only fit for cat consumption. Let me enlighten you to what canned tuna, real canned tuna, can be.
Quick shout out to Chuck's Seafood in Charleston, Oregon. They did an amazing job filleting the albacore. If you're in the area I highly recommend getting several pounds of any of their seafood. It's worth it.
Canned Tuna
There's a few things you'll need if you're going to can tuna.
- A pressure cooker
- Wide-mouthed half-pint Mason jars
- Fresh Tuna
- Seasoning (Optional)
If you have all the equipment you can enjoy delicious albacore tuna all year long! And if you don't have the equipment it's worth the investment.
This is how easy it is to can tuna.
- Clean jars and boil the lids.
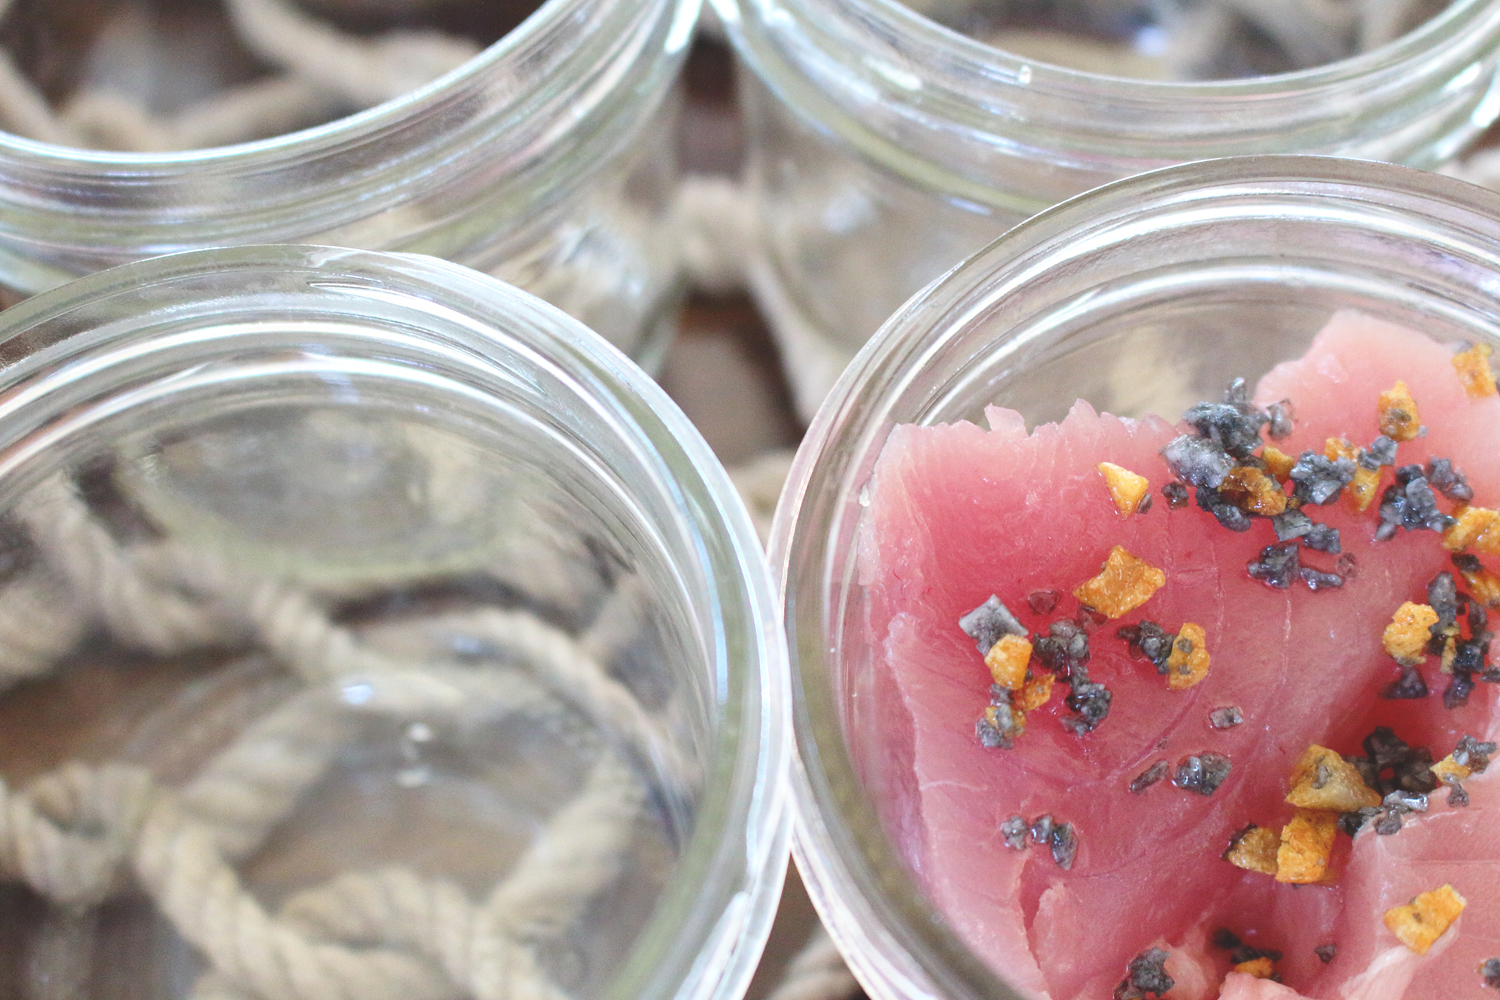
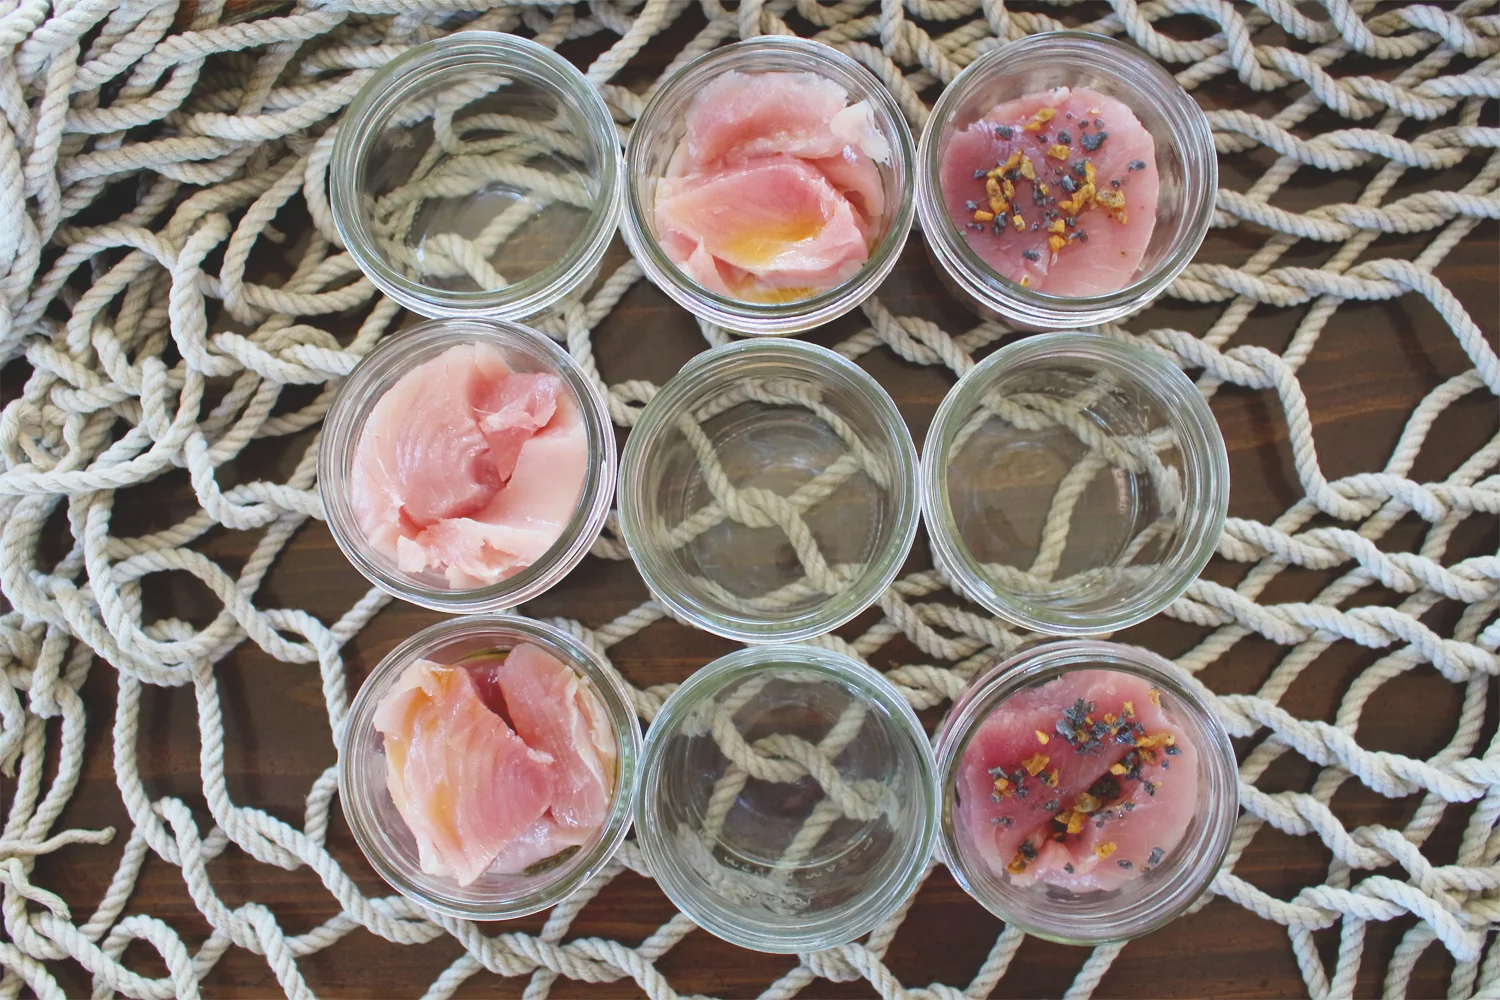
- Cut tuna steaks so they fit inside the jars. Fill the jars just below the threads with tuna.
- Add the seasonings you want. I added extra virgin olive, garlic black salt, jalapenos, sea salt, rosemary, really you can add anything you'd like to flavor your chicken of the sea.
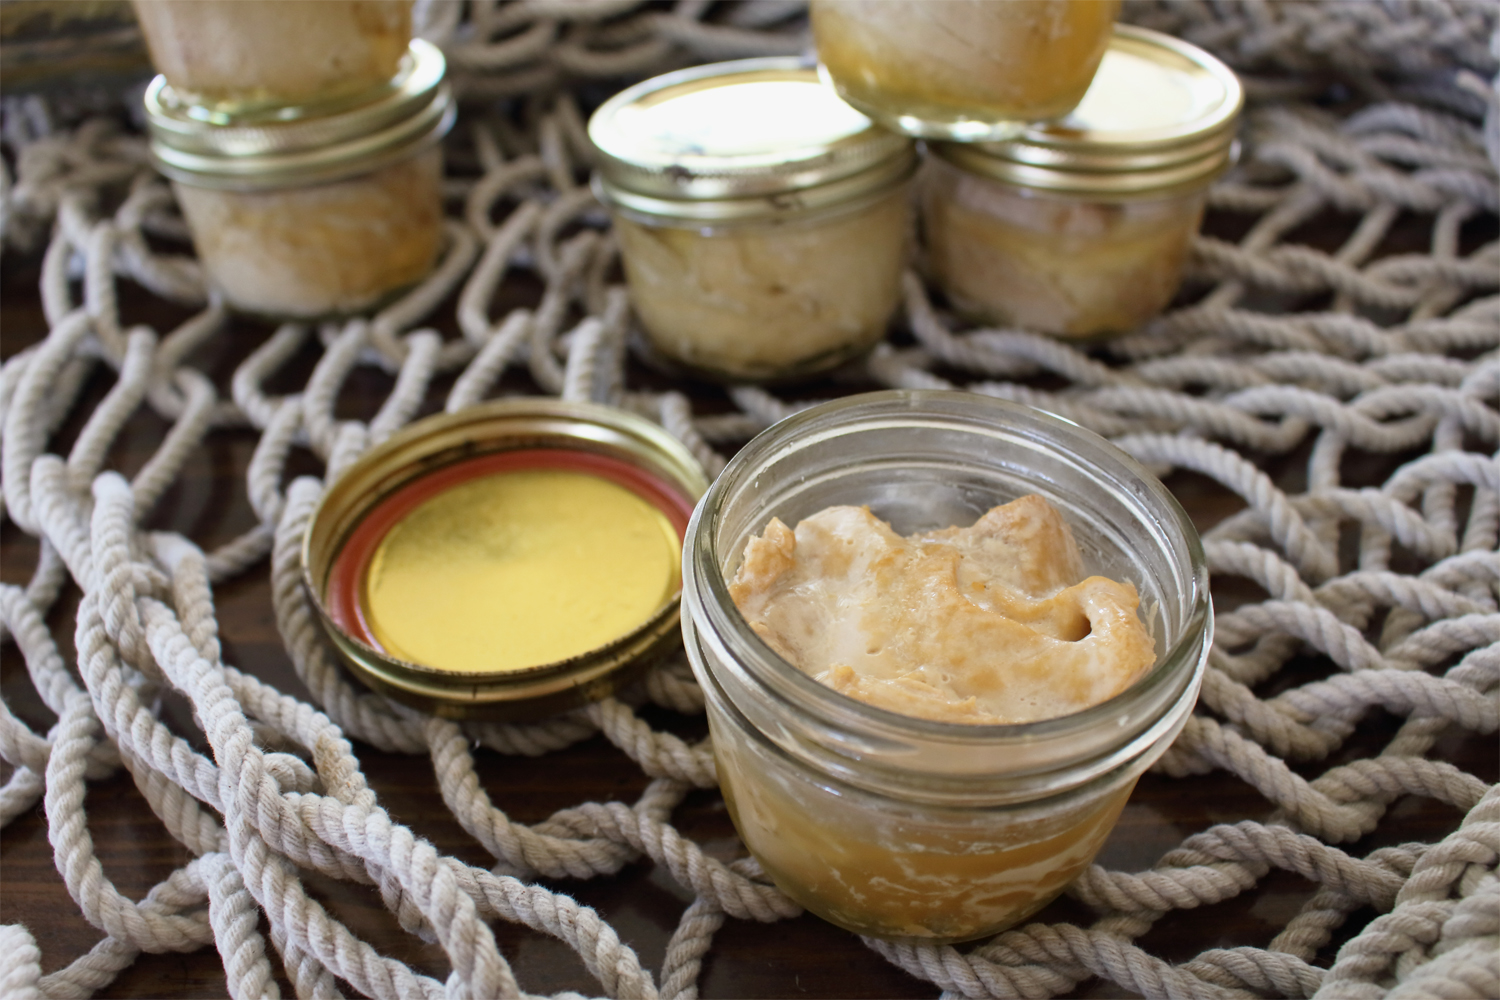
- Clean the rims of the jars. Attach the lids and rings.
- Place in pressure cooker with enough water to reach the rings of the jars on the bottom level.
- Bring the pressure cooker up to 10-15 PSI over high heat. Once the PSI has been reached maintain the pressure for 45 minutes.
- Take off heat and bring the pressure back down to zero. Remove from cooker and let cool. Be sure the lids seal!!
- Make as much and as little tuna as you'd like! When we canned our tuna we made around 125 pounds!
If you want to learn more about canning there's a ton of how-tos online. Canning is a whole sub-culture of cooking and preserving food. There's so much you can do (get it) and learn about canning. This is just an intro post how canning will change your life.